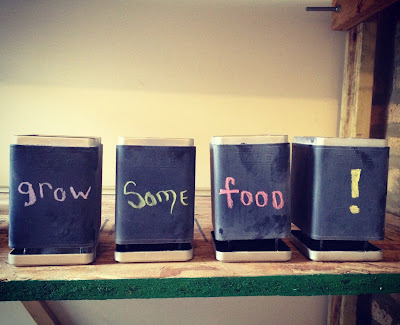
To get started you will need:
- Tea tins, we chose to use Tazo's full leaf tins
- Drill
- Screws, we used wood screws because they seem to work better
- Screwdriver
- Strong Stik, available at Home Depot
The first thing you'll do is drill eight holes into the bottom of your tea tin. One in each corner where you will later add screws and four in the center for drainage.
Next, use your handy-dandy screwdriver to add screws to each corner of your tin. We eyeballed ours but left roughly an inch of the screws out so they could act as feet to attach the drip tray.
Once your screws are in place, use the strong stik to reinforce the them. We left ours to dry overnight but the glue should be solid within 90 minutes.
Dab a bit of strong stik on the end of each screw and gently set the tin on top of the lid to create a drip tray. Play the waiting game for a bit longer and ta-da, your planters are all done!!
Now it’s time to get creative and decorate your new indoor garden!! For our tins we started by taping off the top and bottom, then we gave each tin a few coats of Krylon Chalkboard paint (be sure not to spray too close or you will get some weird drippage!)
Let dry, remove tape, and chalk it up!!
A big thank you to Aaron for sharing this project with me, helping me make my own, and manning the drill the majority of the time!


I found your blog through your comment on peasoupeats and I'm happy I checked it out
ReplyDeleteThis is a great craft that I might have to try some time! (oh...and I'm your first follower on bloglovin':)
alex
http://louise-amabilis.blogspot.com/
Thank you! (I didn't even know about bloglovin' until now, still learning!)
DeleteI just checked out your blog and I'm in love with the dresses that you make! Can't wait to see more!
Awe, thanks
DeleteI know you're just starting out with this blog, but it is really coming together, this DIY is great so when I had to choose some blogs to nominate for "awards" I choose yours as one of them :)
ReplyDeleteYou can check out the details in my latest entry
xo
Alex
p.s.: Don't feel obligated to participate...it's all good!
Thanks for stopping by again!
ReplyDeleteSince it's been a while here's the proper link to the award info : http://louise-amabilis.blogspot.com/2012/06/like-i-mentioned-yesterday-lovely.html